Unconfigured Ad Widget

Collapse

Announcement

Collapse
No announcement yet.

Seaside pics for restoration and colouring please

Collapse
X
 
  • Filter
  • Time
  • Show
Clear All
new posts

  • Seaside pics for restoration and colouring please

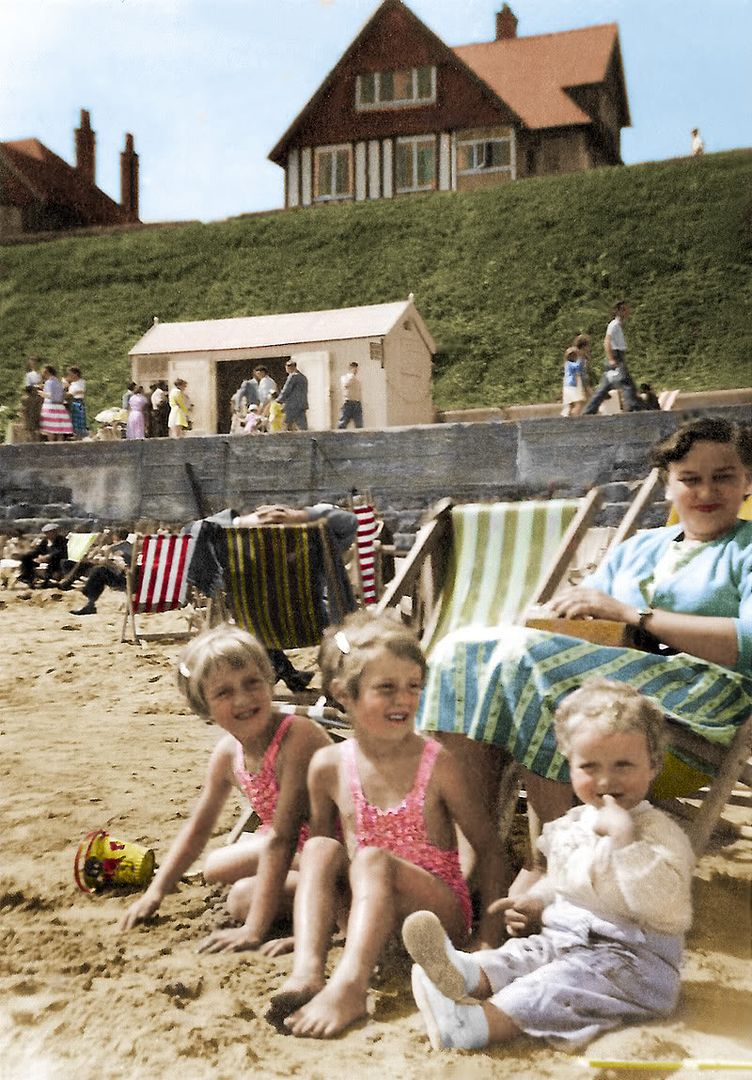
    Would anyone like to have a go at cleaning up these two pics and adding some colour? They date from 1957 and 1959. I can't remember what colour the clothes were (it's a very long time ago!), so feel free to choose your own, and I would love to see if the deckchairs could be colour striped. I've also just noticed that there's a Golly on the bucket in the first pic! Joy.

    Joy

  • #2
    The swimsuits in the 2nd photo must have been red, I can still remember mine, and my much beloved Golly.....:D

    Comment


    • #3
      Restore and colour from me ~ some strange 'halos' to resolve on the b/w photo ~ had a filter been applied ?


      ~ FOR PHOTO RESTORATIONS PLEASE SCAN AT A RESOLUTION OF 300-600 WITH THE SCALE AT 100% MINIMUM ~ http://restoreandcolour.brainwaving.co.uk

      Comment


      • #4
        Rachel, I'm completely overwhelmed by what you've done with the photo - it's absolutely beautiful, thank you so much! You can even see the Golly on the bucket! I can't help with the 'halo' business on the other one I'm afraid. I just scanned it in as it was, and didn't do anything to it first. Joy
        Joy

        Comment


        • #5
          Revised version ~ missed a couple of pieces of deckchair canvas.
          They'd probably have been faded orange, blue and green but the colours weren't showing up enough ~ call it 'artistic license' ! ;)

          Last edited by Rachel Scand; 11-05-09, 12:35.
          ~ FOR PHOTO RESTORATIONS PLEASE SCAN AT A RESOLUTION OF 300-600 WITH THE SCALE AT 100% MINIMUM ~ http://restoreandcolour.brainwaving.co.uk

          Comment


          • #6
            The 'halo' effect is on both pics, as if they've been sharpened or filtered.
            The second one has a slightly water-colour appearance, which is what can happen with some of the filters
            ~ FOR PHOTO RESTORATIONS PLEASE SCAN AT A RESOLUTION OF 300-600 WITH THE SCALE AT 100% MINIMUM ~ http://restoreandcolour.brainwaving.co.uk

            Comment


            • #7
              Smashing picture, I love the bucket.....:D

              Comment


              • #8
                Originally posted by Rachel Scand View Post
                The 'halo' effect is on both pics, as if they've been sharpened or filtered.
                The second one has a slightly water-colour appearance, which is what can happen with some of the filters
                Some scanner software has options such as "unsharp mask" and "descreen" switched on by default. Switching them off may help reduce the 'halo' effect.
                Sarah

                Comment


                • #9
                  Originally posted by Cloggie View Post
                  Some scanner software has options such as "unsharp mask" and "descreen" switched on by default. Switching them off may help reduce the 'halo' effect.
                  Hi Sarah
                  I was wondering if it might be the scanning ... think I meant 'pallet knife' rather than water-colour ~ a bit like those Painting By Numbers pics ?

                  Joy
                  Might you be able to check and, if necessary, scan the 2nd one again ?
                  Last edited by Rachel Scand; 11-05-09, 22:02.
                  ~ FOR PHOTO RESTORATIONS PLEASE SCAN AT A RESOLUTION OF 300-600 WITH THE SCALE AT 100% MINIMUM ~ http://restoreandcolour.brainwaving.co.uk

                  Comment


                  • #10
                    I think it could be down to the scanning settings. I have 2 sets of the same pictures sent to me by a cousin - first scanned on his old scanner, and then rescanned on his new one. The ones on the new one look over-sharpened which has made cracks and specks more obvious, and produced "halos" around edges.

                    My brother has an HP scanner (I'm not sure what model). The first time I used it I used the HP scanning software with no unsharp mask or anything. I recently rescanned some of the same pictures at a higher resolution using the same scanner, but couldn't get the HP software to work, so had to use Windows own scanning software where I couldn't adjust any settings. This also produced oversharpened scans. So I think it's the scanning software settings rather than the scanner itself if that makes sense? :D
                    Sarah

                    Comment


                    • #11
                      I've just checked my scan picture settings, and can't see anything which talks about 'unsharp mask' or 'descreen'. Is there anything else I can do? Joy:(
                      Joy

                      Comment


                      • #12
                        What type of scanner do you have Joy?
                        Mine is a Canon and if I use the "MP Navigator" software that came with it, the unsharp mask and descreen options appear under the "Specify" button where I can adjust the scanning resolution.

                        If I select "Scan with Scanner Driver", it opens up Canon's "Scangear MP" program, where the unsharp mask, etc., settings appear under Advanced Mode.
                        Sarah

                        Comment


                        • #13
                          Mine is an HP Photosmart combined printer, scanner and copier, and there doesn't appear to be any software similar to the one you describe for yours. Joy.
                          Joy

                          Comment


                          • #14
                            That's strange. My brother has an HP multifunction and is able to change the settings. I can't remember what the HP software is called though. It will be a different name than mine, as mine is Canon.
                            It should explain how to adjust the settings in your Photosmart's manual.
                            Available here if you don't have it: HP Photosmart All-in-One Products
                            I can look and see if I can find anything for you if you tell me the model number.
                            Sarah

                            Comment


                            • #15
                              Thanks Sarah, I'd be very grateful if you could. The model is C4380 HP Photosmart. Joy
                              Joy

                              Comment


                              • #16
                                This explains the scanning procedure step-by-step, but doesn't go into any detail about editing/settings: Scanning an Original and Saving it as an Image in Microsoft Windows XP

                                By the sound of it, the settings are probably somewhere in the HP Solution Centre.

                                Manuals, downloads and other information can be found here: HP Photosmart C4380 All-in-One Printer

                                I found this in the User Guide:

                                Scan an image or document
                                For original documents or images placed on the glass, you can start a scan from your computer or from the HP All-in-One. This section explains the second option: how to scan from the control panel of the HP All-in-One to a computer.
                                To use the scan features, the HP All-in-One and computer must be connected and turned on. The HP Photosmart Software must also be installed and running on your computer prior to scanning. To verify that the HP Photosmart Software is running on a Windows computer, look for the HP Digital Imaging Monitor icon in the system tray at the lower right side of the screen, near the time.

                                To scan to a computer
                                1. Load your original print side down on the right front corner of the glass.
                                2. Ensure that there are no memory cards inserted in the memory card slots on the HP All-in-One.
                                3. Press Scan. A preview image of the scan appears on your computer, where you can edit it. Any edits that you make apply to the current scan session only. The HP Photosmart Software has many tools that you can use to edit your scanned image. You can improve the overall image quality by adjusting the brightness, sharpness, color tone, and saturation. You can also crop, straighten, rotate, or resize the image.
                                4. Make any edits to the preview image, and then click Accept when you are finished.
                                Sarah

                                Comment


                                • #17
                                  Thanks Sarah. I found that bit in my manual, and have re-scanned the pic, having edited it in the preview screen. I found an option 'Descreen', which I selected, but nothing about 'unsharp mask'. Here's the pic again - is it any different, or should I be doing something else? Joy
                                  Joy

                                  Comment


                                  • #18
                                    Hi Joy,
                                    It does seem to have slightly softer edges and less "halo" effect.
                                    Usually I would leave any options, including "descreen", unselected, although "descreen" is very useful when scanning pictures printed on textured paper or from magazine/newspaper articles.
                                    Strange that there are no sharpening/unsharp mask options. I would have thought they must be somewhere, but maybe not. I guess different manufacturers may have different available settings.
                                    Sarah

                                    Comment


                                    • #19
                                      I think it's slightly better too. Is it good enough to be able to some re-colouring now? Joy.
                                      Joy

                                      Comment


                                      • #20
                                        Originally posted by Joy Lewis View Post
                                        I think it's slightly better too. Is it good enough to be able to some re-colouring now? Joy.
                                        Just butting in before bed ;)

                                        There's no significant difference from the first scan and it still has that strange quality.

                                        Absolutely no problem with colourising ;) although I was holding out for something more natural to work on and with more detail.
                                        ~ FOR PHOTO RESTORATIONS PLEASE SCAN AT A RESOLUTION OF 300-600 WITH THE SCALE AT 100% MINIMUM ~ http://restoreandcolour.brainwaving.co.uk

                                        Comment

                                        Working...
                                        X